
Every year, thousands of founders chase the dream of launching a successful startup, but most stumble in the first 12 months. The ones who make it share a common secret: they don’t just have a great idea. They build apps that solve real problems for real people.
In 2026, the mobile app world is bursting with opportunity. In-app purchases alone are projected to reach $45 billion in Q1, yet competition is fierce. A brilliant idea won’t get you far without a clear roadmap, realistic budgets ranging from $15K to $150K, and proof that users actually want what you’re building.
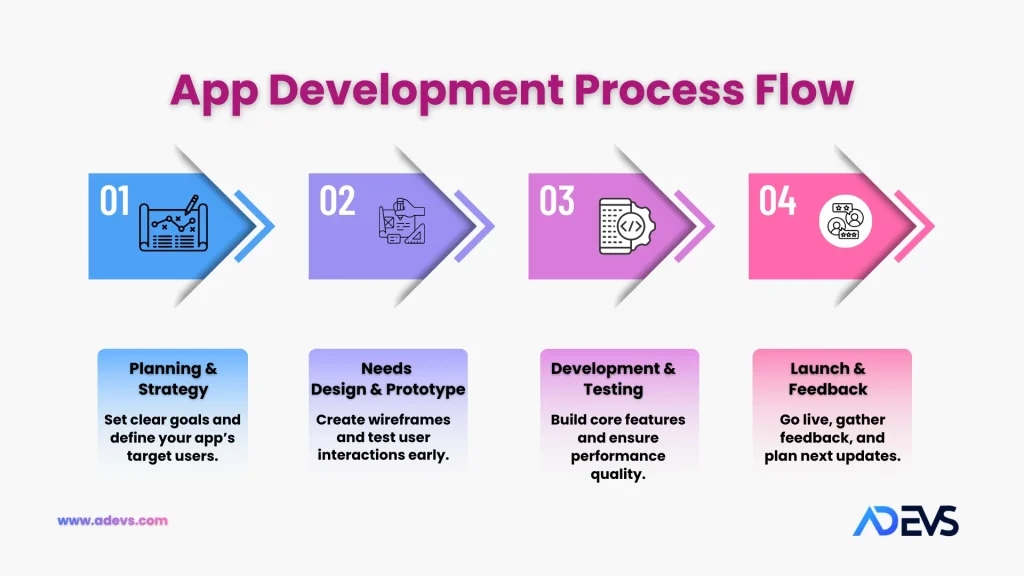
This guide walks you through 12 practical steps to turn your app idea into reality. Whether you’re exploring no-code tools like Bubble or Adalo, testing a low-code path with AppSheet, or planning a full-code build with React Native or Flutter, we’ll show you exactly how to validate, prototype, launch, and grow your app without wasting time or money. By the end, you’ll have a clear path from concept to sustainable growth.
Step 1: Validate Your App Idea and Market Demand
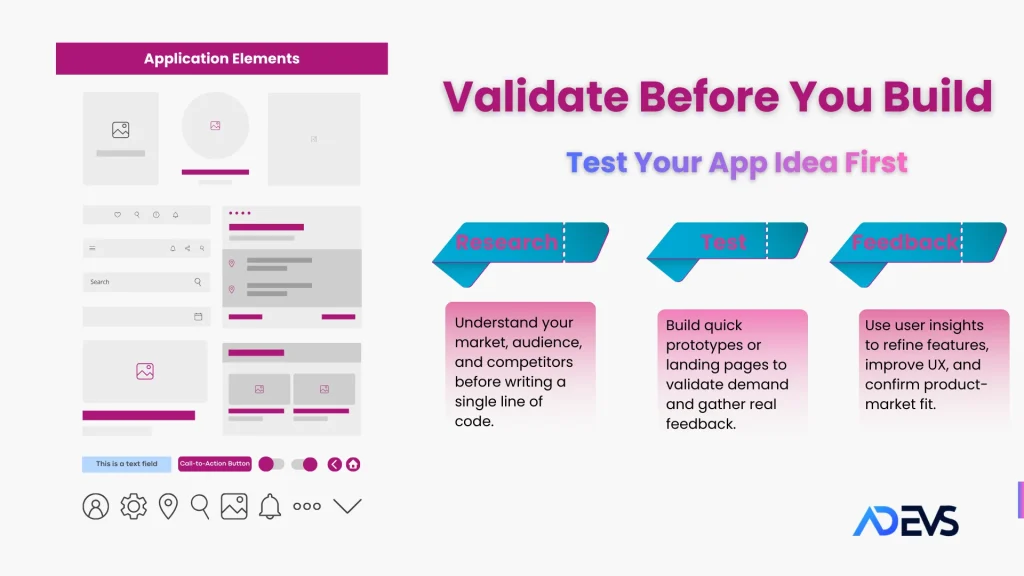
Before writing code, prove people want your app. Market validation separates successful apps from expensive failures.
Target Users: Define your audience precisely. Are you serving business teams, enterprise clients, or consumers?
Research Channels:
- Google Trends – Keyword popularity over time
- App Store Search – Competitor presence & reviews
- Surveys / Interviews – Use AI-assisted tools like Typeform, Outgrow
- Landing Page Test – Drive traffic via social ads and measure sign-ups
Pro Tip: If fewer than 100 qualified users engage, refine your concept before building your app.
Market Validation Tools (2026):
| Tool | Purpose | Cost |
|---|---|---|
| Google Trends | Keyword interest | Free |
| App Store Search | Competitor research | Free |
| Minimal Landing Page | Pre-launch interest | $10–50/mo |
| Bubble / Adalo | No-code MVP testing | $0–29/mo |
Step 2: Define MVP Features
Focus on 3–5 core features that solve your users’ main problem.
Global App Market 2026: Expected to reach $320B, with users expecting high-quality performance from day one.
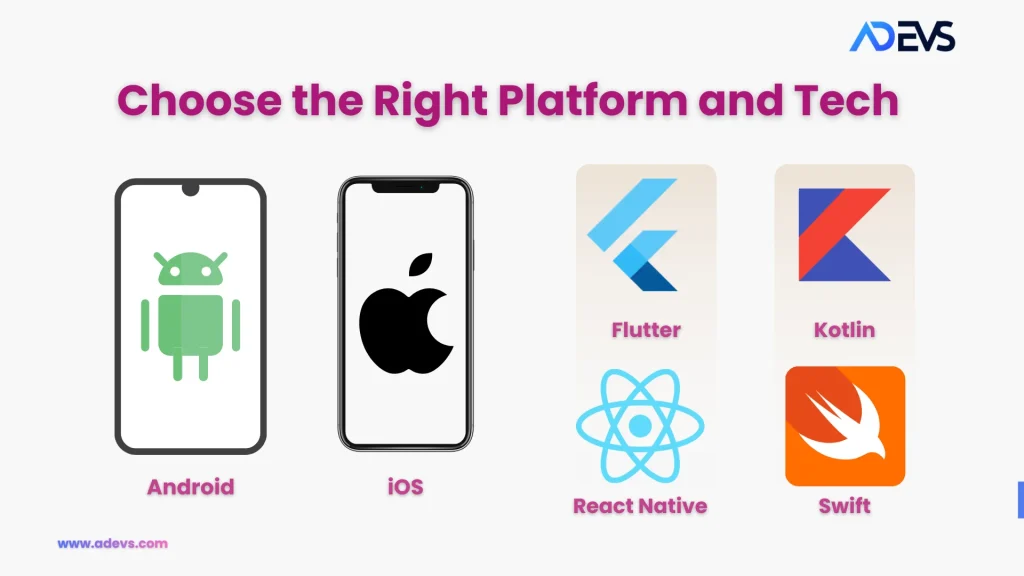
Platform Considerations:
| Platform | Pros | Cons |
|---|---|---|
| iOS | Premium audience, higher spend per user | Smaller global install base |
| Android | Largest install base | Device fragmentation |
| Cross-Platform | Shared codebase, faster launch | May compromise native features |
Pro Tip: Choose your platform based on user location and monetization goals. Start iOS if targeting premium users; Android for global reach. Both only if validated and budget allows.
Step 3: Choose Your Development Path
Decide how you want to build your app. Your choice impacts speed, cost, and scalability. In 2026, the main options are No-Code, Low-Code, and Full-Code.
No-Code:
- Build visually without coding (e.g., Bubble, Adalo, FlutterFlow)
- Fast MVPs (1–4 weeks), low cost ($0–5K)
- Limited for complex features or high scale
Low-Code:
- Drag-and-drop with some code (e.g., AppSheet)
- Medium complexity, faster than full code
- Some limitations on customization
Full-Code:
- Native or cross-platform frameworks (React Native, Flutter, Swift, Kotlin)
- Best for performance, scale, and custom UX
- Longer timelines (2–9 months) and higher cost ($30–150K+)
| Path | Best For | Notes |
|---|---|---|
| No-Code | MVP, fast launch | Bubble ($29/mo), Adalo (free), FlutterFlow (AI support) |
| Low-Code | Rapid prototyping | AppSheet |
| Full Code | Scale, custom features | React Native, Flutter, Kotlin/Swift |
Pro Tip: Use no-code for MVP testing. Upgrade to full code for growth or complex features.
Step 4: Wireframe Your App
Great design isn’t about decoration. It’s about clarity, accessibility, and flow that directly influence user retention and conversion. A poor user experience can ruin even the most technically solid app. Before coding, map out how users navigate your app. Wireframing turns ideas into a visual blueprint.
Key Actions:
- Sketch screens and user flows on paper or tools like Figma, Sketch, or Adobe XD
- Focus on core tasks first that minimize steps to value
- Prioritize thumb-friendly navigation and clear visual hierarchy
Tips for Effective Wireframes:
- Keep layouts simple and intuitive
- Highlight essential actions on each screen
- Test your flow with potential users before moving to design
Quick Tip:
Wireframes help catch UX issues early, saving time and cost in later stages. Think of this as your app’s skeleton and everything else builds on it
Step 5: Prototype Your App
After wireframing, create a clickable prototype to visualize the app experience before coding.
Key Actions:
- Use tools like Figma, Adobe XD, or InVision to make screens interactive
- Simulate real user flows including taps, swipes, and navigation
- Share prototypes with potential users to gather early feedback
Tips for Prototyping:
- Focus on key tasks and primary user flows
- Avoid adding unnecessary features at this stage
- Test usability and identify points of confusion early
Quick Reminder: Prototypes let you validate ideas quickly and reduce costly mistakes during development. Think of this as a practice run before building the real app.
Step 6: Build Your MVP
With validated wireframes and prototypes, it’s time to build your Minimum Viable Product (MVP). Focus only on core features that solve the main user problem.
Key Actions:
- Choose your development path: No-Code, Low-Code, or Full Code
- Implement essential features from your MVP list
- Keep designs and functionality simple to test value quickly
- Maintain clean code and version control for future updates
Tips for MVP Development:
- Prioritize speed without compromising basic quality
- Use reusable components or templates to save time
- Set up analytics tracking from the start to measure usage
Quick Reminder:
The MVP is not the final product. Its purpose is to test assumptions, gather user feedback, and prove market fit before investing heavily in development. Read MVP Cost Guide.
Step 7: Test Your App
Testing is critical to ensure your MVP works as expected across devices, platforms, and user scenarios. A well-tested app prevents costly fixes and negative user experiences later.
Key Testing Areas:
- Device Compatibility: Test on multiple devices, screen sizes, and OS versions to catch layout or performance issues
- Performance: Check loading times, memory usage, and responsiveness
- Functionality: Verify that all core features work correctly and flows match your design
- Security: Validate data protection, secure authentication, and proper encryption
- User Experience: Observe users interacting with your app, note friction points or confusing elements
Testing Methods:
- Internal QA: Developers and team members test features systematically
- Beta Testing: Release to a small group of real users to gather actionable feedback
- Automated Testing: Use scripts for repeated actions, regression checks, and error detection
Pro Tip:
Track all bugs and feedback in a structured tool like Jira, Trello, or Notion. Prioritize issues by severity and fix critical ones before launch. Testing early and often reduces the chance of negative reviews and improves retention from day one.
Step 8: Launch Your App
Launching your app is not just publishing it to the store. It is the moment when all your preparation, development, and testing come together to reach real users. A successful launch requires planning, monitoring, and promotion to maximize visibility and downloads.
App Store Submission:
- Apple App Store: Requires an Apple Developer account ($99/year). Ensure your app meets all guidelines, including app privacy, UI design, and functionality requirements.
- Google Play Store: Requires a Google Play Developer account ($25 one-time fee). Follow store policies and upload all required assets such as screenshots, descriptions, and icons.
Launch Checklist:
- Confirm all critical bugs are fixed and performance is optimized
- Ensure all backend services are stable and scalable for initial traffic
- Double-check metadata: app title, description, keywords, screenshots, and promotional text
- Prepare a launch announcement plan (email, social media, press releases)
Promotion Strategies:
- Use pre-launch email lists collected during market validation to notify early adopters
- Leverage social media and content marketing to build awareness
- Encourage beta testers to leave reviews to improve early credibility
Monitor Early Performance:
- Track downloads, installs, and user engagement metrics from day one
- Respond to user reviews promptly to build trust and show attentiveness
- Monitor crash reports and errors using tools like Firebase, Sentry, or Bugsnag
Pro Tip:
Plan a soft launch in one region first. This helps identify any last-minute issues before a global release and allows you to adjust marketing strategies based on real user behavior.
Launching is just the beginning. The app’s long-term success depends on how you monitor, respond, and iterate after this step.
Step 9: App Store Optimization (ASO) & Marketing
Launching your app is just the start. ASO and marketing help drive downloads, visibility, and early traction.
App Store Optimization (ASO):
- Title & Keywords: Include primary keywords in your app name and subtitle, keeping it readable.
- Description: Highlight core features and benefits in short, scannable paragraphs with bullets.
- Visuals: Use high-quality screenshots, a 15–30 second demo video, and a clear, recognizable app icon.
- Ratings & Reviews: Encourage satisfied users to leave reviews and respond to feedback. Positive ratings boost discoverability.
Marketing Strategies:
- Pre-Launch: Build hype with social media campaigns, landing pages, and email newsletters.
- Paid Ads: Target audiences via Instagram, Facebook, Google, or TikTok.
- Content & Referral: Publish blogs or guides, and incentivize users to invite friends.
- Influencers & PR: Partner with micro-influencers or relevant communities for buzz and credibility.
Monitor & Iterate: Track installs, conversion rates, and ROI per channel. Update app assets regularly based on feedback and trends.
Pro Tip: Treat ASO and marketing as ongoing efforts. Continuously test keywords, visuals, and descriptions to maximize downloads and retention.
Step 10: Monitor, Metrics & Scale
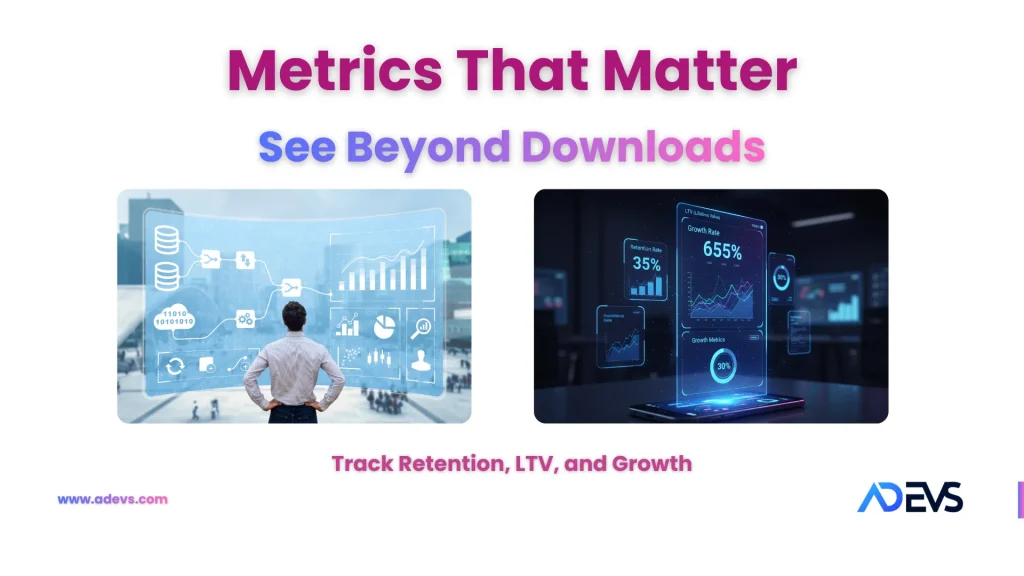
After launch, your app’s performance depends on tracking the right metrics and acting on them. Data-driven decisions help grow users, revenue, and retention efficiently.
Key Metrics to Track:
- Retention Rates: Focus on Day 1, Day 7, and Day 30 retention to see if users find real value.
- Lifetime Value (LTV): Understand how much revenue each user generates over time.
- Acquisition Metrics: Monitor cost per install (CPI) and ROI of marketing campaigns.
- Engagement: Track session length, feature usage, and in-app interactions.
- Ratings & Reviews: Keep a close eye on app store feedback for insights and credibility.
Scaling Strategies:
- Optimize marketing channels that deliver the best ROI.
- Add features and improvements based on user behavior and feedback.
- Plan infrastructure for growth to handle increased traffic and usage.
- Iterate ASO periodically to maintain visibility in app stores.
Pro Tip: Analytics are not optional. Regularly review data and adjust marketing, updates, and features to maximize retention, growth, and profitability.
Step 11: Monetize – Choosing Your Revenue Model
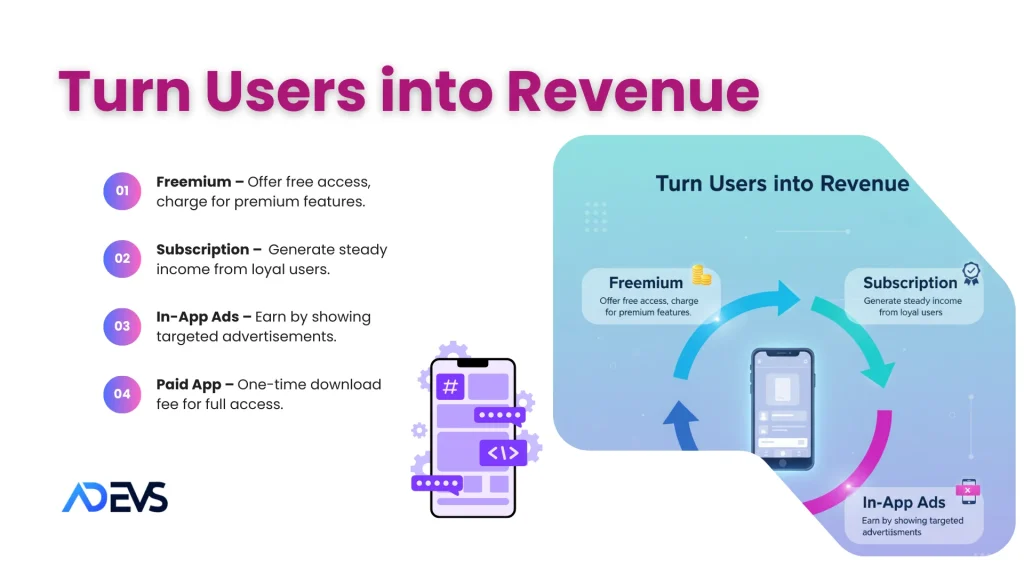
Plan monetization from the start. The right model depends on your users, app type, and business goals. Most mobile revenue in 2026 comes from freemium, subscriptions, and in-app purchases.
Popular Revenue Models
- Freemium: Free core app with paid premium features. Works for productivity, fitness, or utility apps.
- Subscription: Ongoing payment. Ideal for content apps, SaaS, or services. Test plans for pricing and duration.
- In-App Advertising: Works for apps with large, active user bases. Keep ads non-intrusive.
- Paid Apps / One-Time Purchase: Suitable for niche or specialized tools where value is clear upfront.
Tips for Monetization
- Test pricing and features with a small user group.
- Track conversion rates, churn, and lifetime value to refine strategy.
- Align monetization with user expectations.
- Be ready to pivot or combine models based on user behavior.
Key Takeaway: Decide early how your app will generate revenue and integrate it into the user experience.
Step 12: Scale / Maintain – Keep Your App Growing
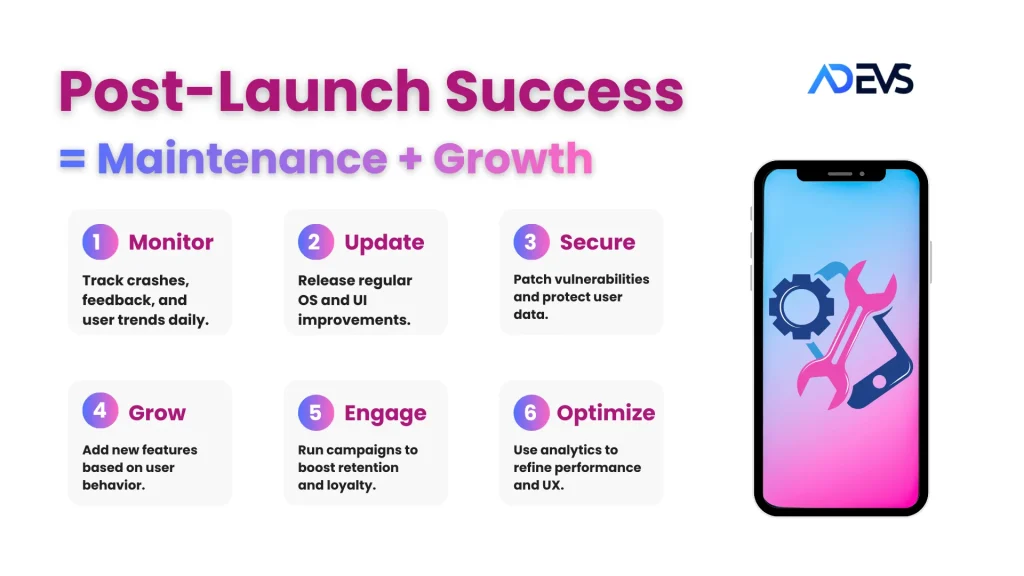
Launching is just the beginning. To sustain growth and performance, you need best app maintenance plan and scaling from day one.
Key Activities
- Monitoring: Track crashes, reviews, and performance metrics daily.
- Updates: Apply OS compatibility patches, security fixes, and UX improvements regularly.
- Growth: Release new features, run retention campaigns, and expand into new markets gradually.
Budget & Resources
- Allocate about 20% of your initial development budget for first-year maintenance and growth.
- Ensure infrastructure can handle increasing users and data load.
- Set up feedback loops to continuously improve the app experience.
Pro Tip: Treat maintenance as ongoing. Regular updates, attentive support, and strategic feature expansion help retain users and sustain revenue.
2026 App Development Costs
Before you start building, it’s smart to understand the cost to make an app. Costs depend on complexity, features, and platform choice. The table below reflects typical 2026 ranges for apps of different sizes and technical depth:
| App Type | Estimated Cost (USD) | Estimated Timeline | Complexity | Blended Hourly Rate (USD) |
|---|---|---|---|---|
| Simple App/ MVP | $25,000 – $70,000 | 2–4 months | Core screens, limited backend | $50 – $100 |
| Mid-Complexity App | $70,000 – $200,000 | 4–9 months | APIs, dashboards, notifications | $75 – $150 |
| Complex App | $200,000 – $500,000+ | 9–18 months | Multi-platform, cloud backend | $100 – $200 |
| AI-Powered / Enterprise | $300,000 – $1,000,000+ | 12–24 months | Advanced AI, cloud integration, enterprise-grade features | $125 – $250 |
Pro Tip: Start with a simple MVP and validate your idea before committing to higher complexity. Adjust your budget and timeline as your app scales and adds new features.
Key Takeaways for 2026 App Development Steps
Building a successful mobile app requires strategic thinking, user focus, and disciplined execution. These essential principles guide every decision from concept to scale:
Validate Idea – Use Google Trends, competitor research, and a minimal landing page to confirm genuine user demand. Test messaging and adjust your target audience if interest is low.
Define MVP – Focus on 3-5 core features that solve your users’ primary problem. Avoid scope creep. Extra features can be added in future updates based on real feedback.
Choose Development Path
- No-Code: Bubble ($29/mo), Adalo (free tier), FlutterFlow (AI-assisted)
- Low-Code: AppSheet
- Code: React Native, Flutter
Select the approach that fits your budget, timeline, and growth goals.
Wireframe – Create visual user flows and screen layouts using Figma or similar tools. Keep interactions intuitive, thumb-friendly, and easy to navigate.
Prototype – Build clickable mockups or TestFlight beta versions. Test with real users to uncover confusion points and improve usability before coding.
Build MVP – Implement your chosen features based on the selected path. Prioritize core functionality, performance, and security.
Test – Run device and OS compatibility checks, performance tests, and security audits. Beta test with a small group to catch issues that internal testing may miss.
Launch – Submit to Apple App Store ($99/yr) and Google Play ($25). Prepare all assets: icons, screenshots, and description optimized for discoverability.
App Store Optimization (ASO) & Marketing
- ASO: Optimize title, keywords, description, screenshots, and icon. Encourage early ratings and reviews.
- Marketing: Pre-launch campaigns, social media ads, content marketing, referrals, influencer partnerships.
- Track installs, conversions, and channel performance for ongoing improvement.
Monitor – Measure Day 1 retention (~30%) and other KPIs. Analyze user behavior, churn, and engagement metrics. Identify trends to iterate on features and user experience.
Monetize – Choose a revenue model: freemium, subscription, in-app purchases, or paid downloads. Test pricing and conversion with real users to optimize revenue.
Scale & Maintain – Allocate ~20% of your initial budget for yearly updates, security patches, and new feature development. Continuously support users and iterate based on feedback.
Turn Your App Idea Into Reality
Creating a successful mobile app requires more than great ideas, it demands strategic planning, user-focused design, and disciplined execution. The 2026 mobile market rewards apps that solve real problems with excellent user experiences and sustainable business models.
Start with thorough market validation to ensure people want what you’re building. Choose your technology stack and development approach based on your specific goals, not industry trends. Design for clarity and accessibility from the beginning. Test extensively before launch, then optimize relentlessly based on user feedback and behavioral data.
If you’re ready to transform your app concept into a market-ready product, consider partnering with experienced development teams who understand both the technical requirements and business strategy needed for success. At Adevs, we help founders navigate the complete journey from initial concept to profitable app business, providing clarity, efficiency, and cost control throughout the process.
Ready to discuss your app idea and create something that works for both your users and your business? Let’s start building your success story.
Frequently Asked Questions
Can I build an app without coding skills?
Yes, low-code and no-code platforms allow non-technical founders to create simple apps. However, these solutions have limitations in customization, performance, and scalability. They’re excellent for testing concepts quickly but often require rebuilding with traditional development methods as you grow. Plan accordingly if you choose this path.
How long does mobile app development actually take?
Timeline depends on complexity and platform choices. Simple apps with basic features typically require 3-4 months from concept to launch. Mid-complexity apps with custom features, user accounts, and backend integration take 6-9 months. Complex applications with advanced functionality, multiple integrations, and enterprise features often require 9-12+ months for quality delivery.
What budget should I allocate for app maintenance?
Plan for approximately 20% of your initial development investment for first-year maintenance costs. This covers OS compatibility updates, security patches, bug fixes, and minor feature improvements. Growing apps with expanding user bases may require higher maintenance budgets to support scaling infrastructure and customer support.
Which success metric matters most for new apps?
User retention rates matter more than download numbers. High installation counts mean nothing if people delete your app immediately. Focus on Day 1, Day 7, and Day 30 retention alongside user lifetime value (LTV). These metrics indicate whether you’ve built something people find genuinely useful and will pay for over time.
Best free no-code app builders 2026?
For testing app ideas quickly, some top options are Adalo (free tier), Bubble starter ($29/mo), and FlutterFlow trial. These platforms let you build functional MVPs, gather early user feedback, and validate your concept without writing code. They’re ideal for founders who want speed and flexibility while keeping initial costs low.
React Native vs FlutterFlow for beginners?
FlutterFlow is great for beginners who want to launch an MVP fast using no-code tools with AI assistance. React Native requires coding but gives full control for custom features and scalability. Choose FlutterFlow to test ideas quickly, and React Native when you plan to scale or need complex integrations.
How to publish without Apple $99 fee?
Apple’s App Store charges $99/year, but you can start with Android ($25 Google Play fee) or create a Progressive Web App (PWA). PWAs run in browsers, letting you reach users, collect feedback, and validate your app before committing to a full iOS release.